Deployment Methods
A captain-definition file tells CapRover how to build source code or which image to deploy. Source archives and repository deployments need this file. The CLI can also deploy a prebuilt image directly with caprover deploy --imageName IMAGE. See Captain Definition for the available source and image formats.
Deploy via CLI
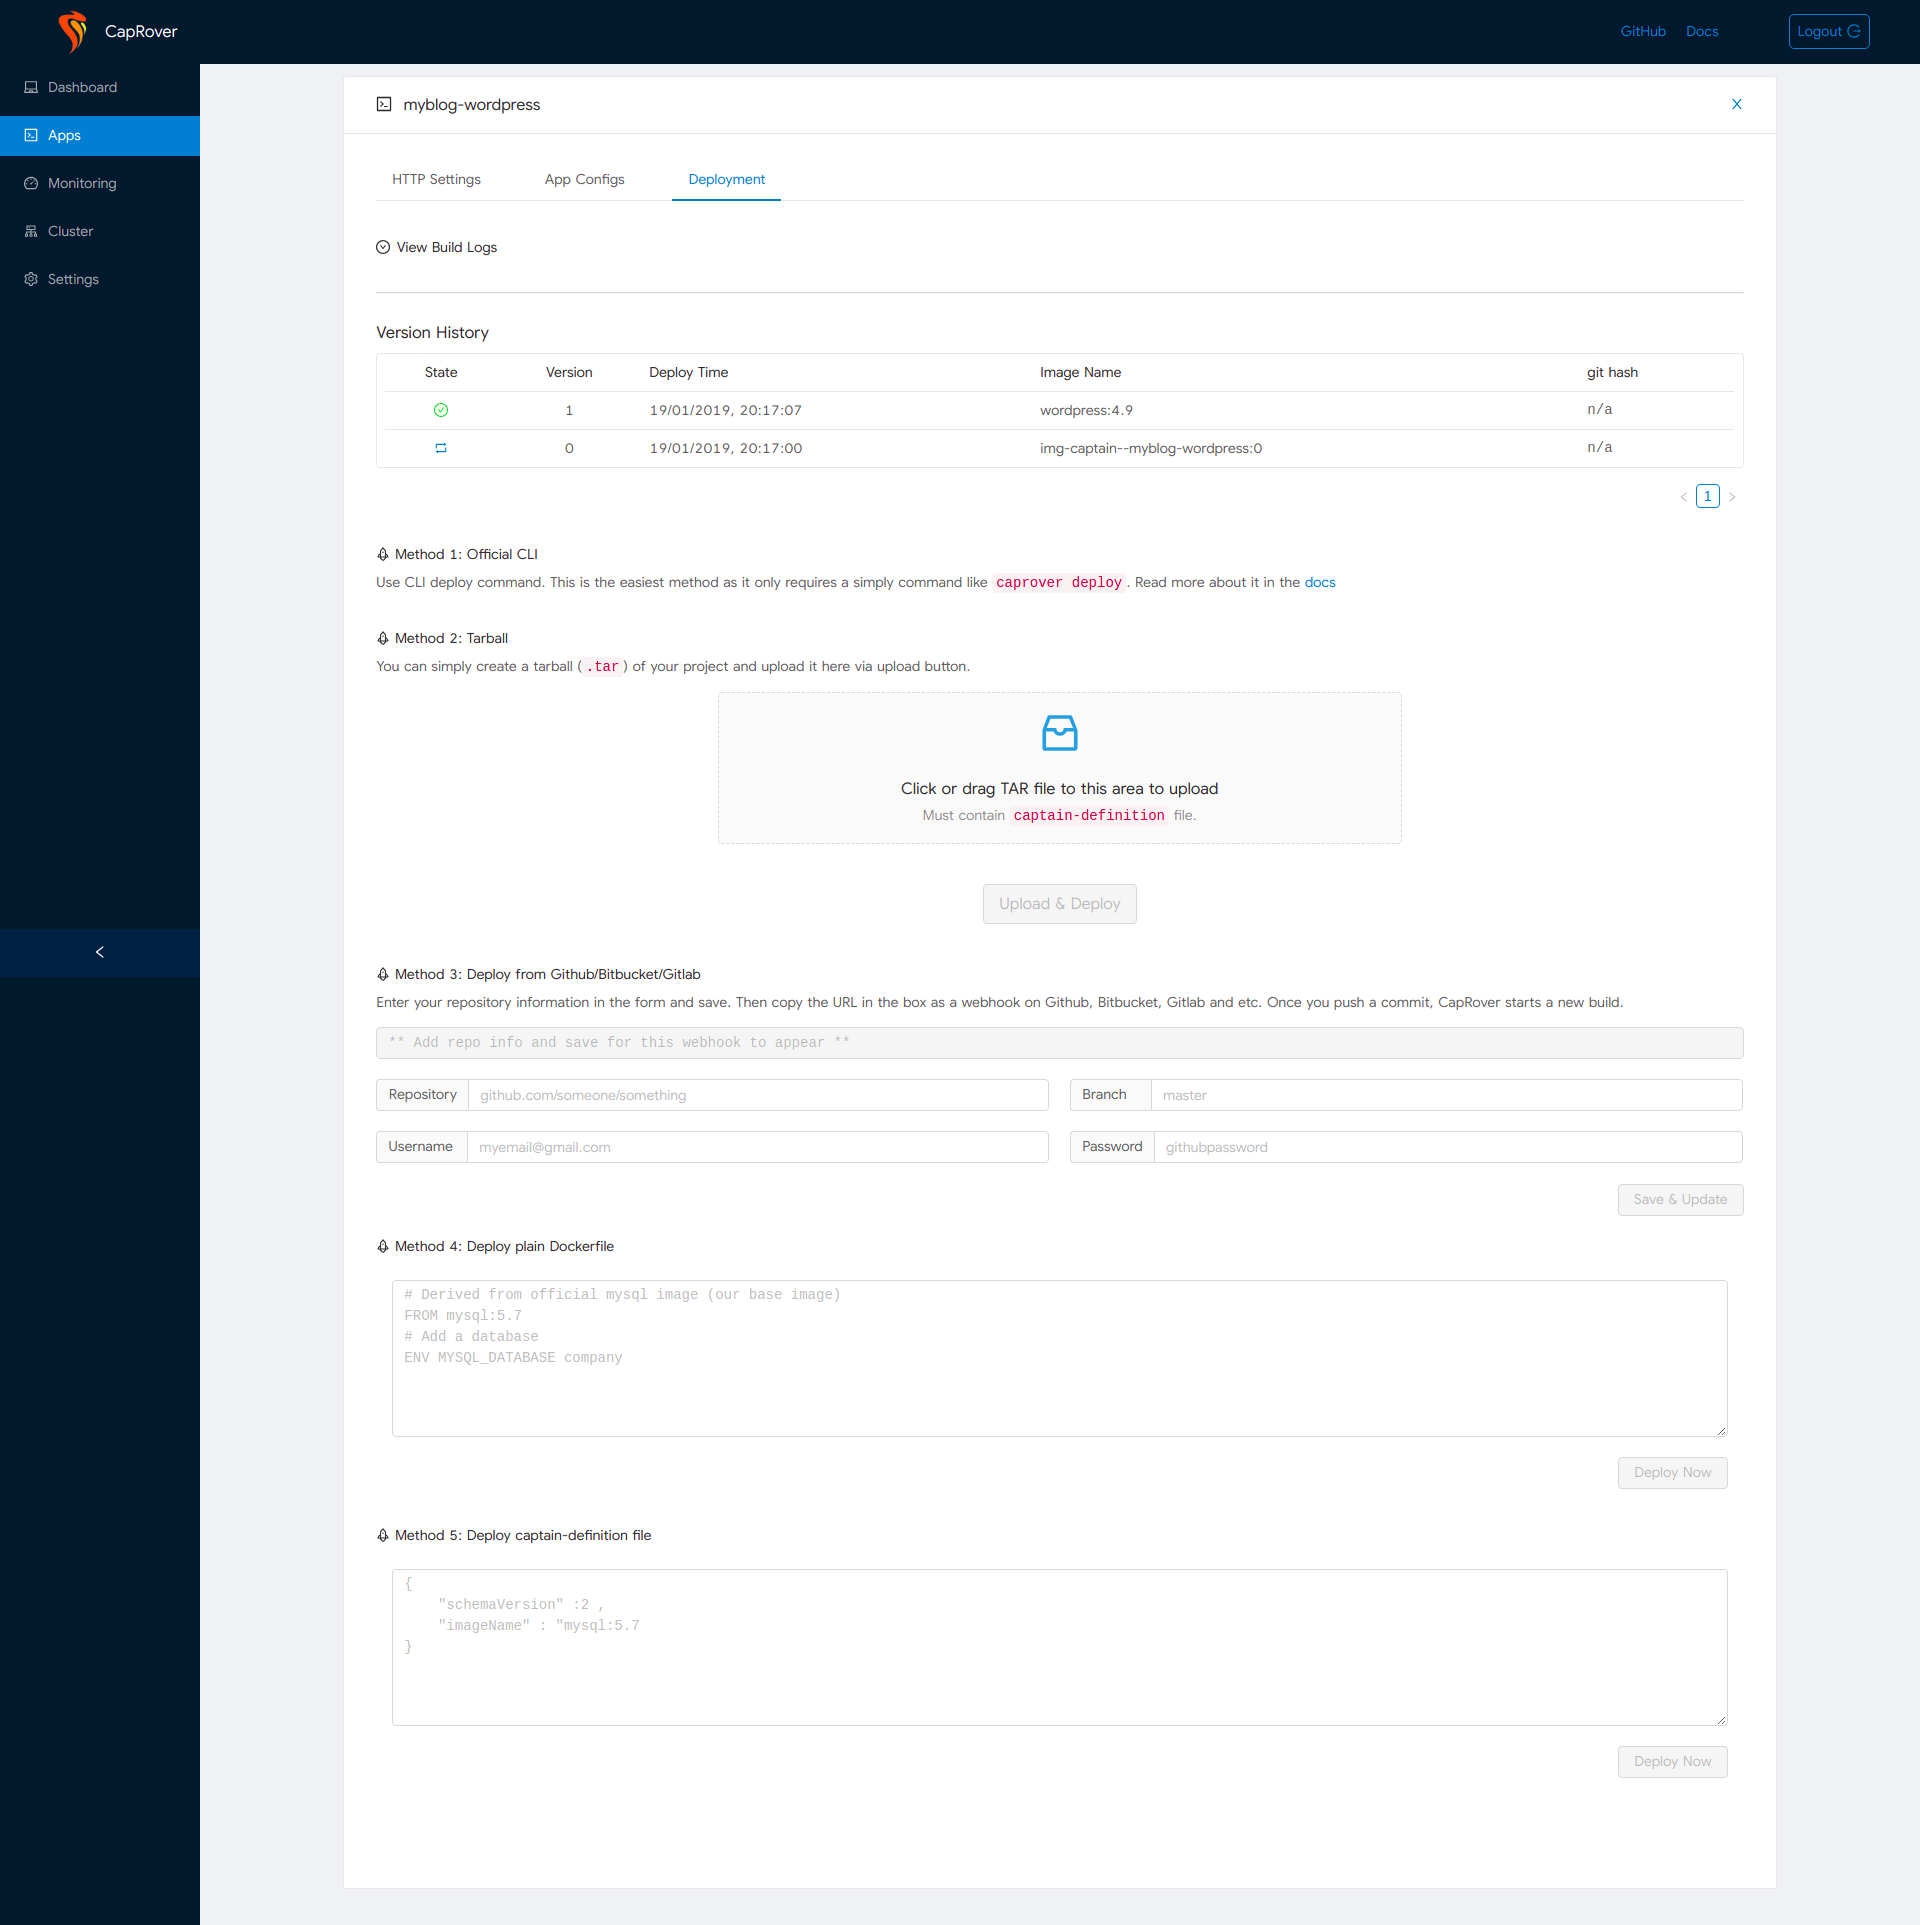
Run caprover deploy in your Git repository and follow the prompts. The CLI streams upload, build, and deployment progress. Build output is also available in the dashboard and automated deployment logs. Read more here:
Get Started - Step 5.
Deploy via Web Dashboard
Convert the content of your project into a tarball (.tar), go to your Captain web dashboard and upload the tar file. This deployment method is typically used for testing purposes only.
For captain-definition files that do not require any source code, like this, you can simply copy and paste the captain-definition content on web dashboard.
One Click Rollback
Let's say you deployed a new version of your app. But you realize that it's buggy. You don't have time to go back, revert your changes or fix the bug, what would you do? Simple! Just go to deployment tab and click on the revert icon next to the version that you want to revert to. CapRover automatically starts a new build and deploy that version! Note that this DOES NOT revert changes that you made to Environment Variables, and other app configs such as persistent directories and etc. It just reverts your image (deployed source code).
Automatic Deploy using Github, Bitbucket and etc.
This method automatically triggers a build with a captain-definition file when you push to a configured branch. To set it up, open the app settings and enter the repository information:
- repo: This is the main HTTPS address of repo, in case of github, it is in
github.com/someone/somethingformat. Make sure it does NOT includehttps://prefix and.gitsuffix. - branch: The branch you want to be tracked, for example
masterorstagingorrelease... - github/bitbucket username(email address): This is username that will be used when Captain downloads the repo.
- github/bitbucket password: You can enter any non-empty text, like
123456, for public projects. - Or, instead of username/password, use SSH Key: Make sure to use PEM format as other formats may not work. Use the following command if unsure:
ssh-keygen -m PEM -t ed25519 -C "yourname@example.com" -f ./deploykey -q -N ""
After you enter this information, save your configuration. And go to your apps page again. Now, you'll see a new field call webhook. Simply copy this webhook to your github/bitbucket repo webhooks (see below). Captain listens to POST requests on this link and triggers a build.
Github
Create a webhook here:
- Project > Settings > Add Webhook > URL: Captain Webhook from your apps page, Content Type:
application/json, Secret:<Leave empty>, Just thepushevent. Furthermore add the contents of your generated public key to your repositories deploy keys.
Bitbucket
Webhooks can be added here:
- Project > Settings > Webhooks > Add Webhook > Title: Captain Server, URL: Captain Webhook from your apps page.
GitLab and Others
Webhooks can be added in a similar fashion. As long as the webhook fires a POST request, CapRover is able to pick it up and starts a build from the latest commit on the specified branch.